IA & Agentes
Copilot Studio do zero [2] - Anatomia de um agente: Instructions, Knowledge, Tools, Triggers, Agents e Topics
Copilot Studio from scratch [2] - Anatomy of an agent: Instructions, Knowledge, Tools, Triggers, Agents and Topics
![Copilot Studio do zero [2] - Anatomia de um agente: Instructions, Knowledge, Tools, Triggers, Agents e Topics](/images/copilot-anatomia-agente-1.png)
Fala dataholics! Essa é a parte 2 da série Copilot Studio do zero, e hoje a gente abre o capô. No post anterior a gente desenhou o mapa do ecossistema e viu onde o Copilot Studio se encaixa. Agora vamos abrir o capô: do que um agente é feito por dentro?
Eu abri a tela de configuração de um agente de verdade (um tal de Dataside Assistant) e a boa notícia é que não tem mistério: toda a configuração se resume a 6 blocos. Conheceu essas seis, você monta e, principalmente, consegue depurar praticamente qualquer agente. Simples assim.
O que veremos nesse post:
A visão geral: os 6 blocos da tela do agente
Instructions: a personalidade e as regras
Knowledge: de onde vêm as respostas
Tools: o que o agente faz (e o que é o Work IQ)
Triggers e Agents: proatividade e multi-agente
Topics: fluxos desenhados na mão
Resumo
A visão geral: 6 blocos (e o cérebro)
Antes de detalhar cada bloco, segura essa imagem mental. Na tela de Overview do agente você configura: Instructions, Knowledge, Tools, Triggers, Agents e Topics. Além disso, você escolhe o modelo que vai raciocinar (no print era um GPT-5), e por cima de tudo existe a orquestração, que é quem decide, a cada mensagem, qual bloco usar.
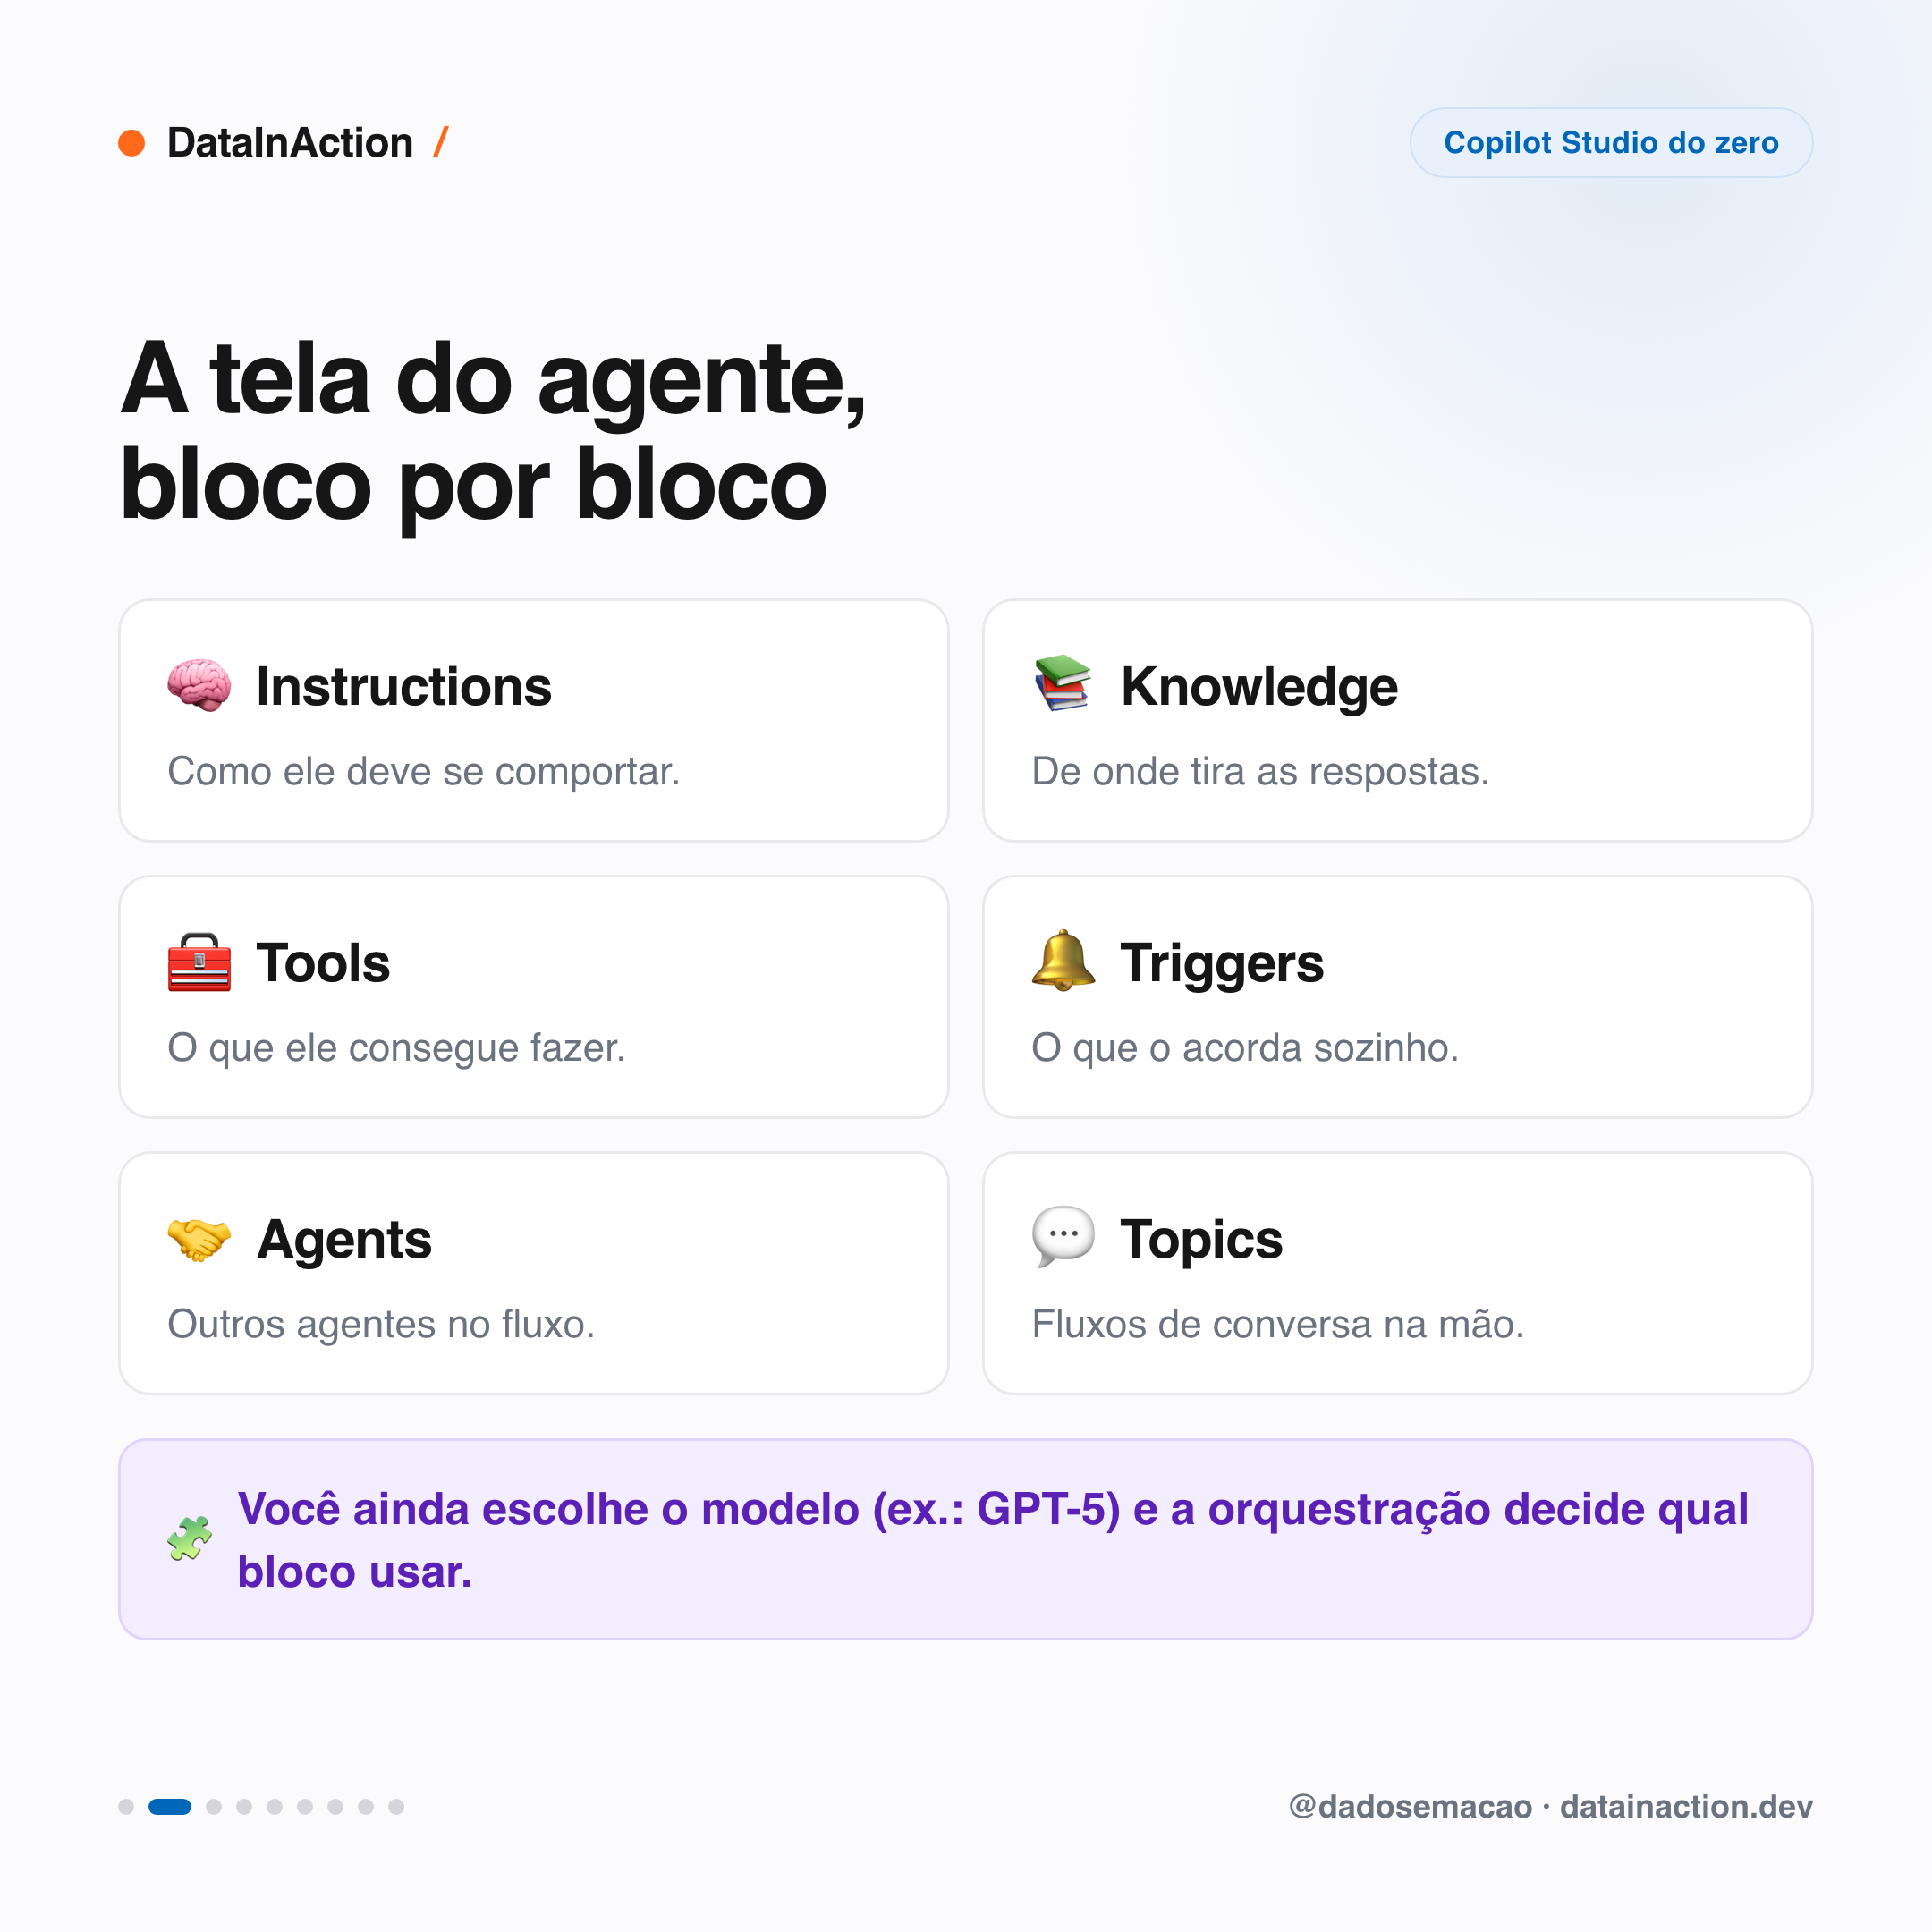
Guarda isso, porque quando um agente "responde estranho", o problema quase sempre está em um desses blocos. Saber qual é metade do caminho para arrumar.
01. Instructions: a personalidade e as regras
As Instructions são onde você descreve, em linguagem natural, como o agente deve se comportar: o tom, o objetivo, o que ele pode e o que ele não pode fazer. É o equivalente ao "system prompt", só que sem escrever código, em português mesmo. No agente do print, a instrução era simples e direta: "Always put the reference in response."
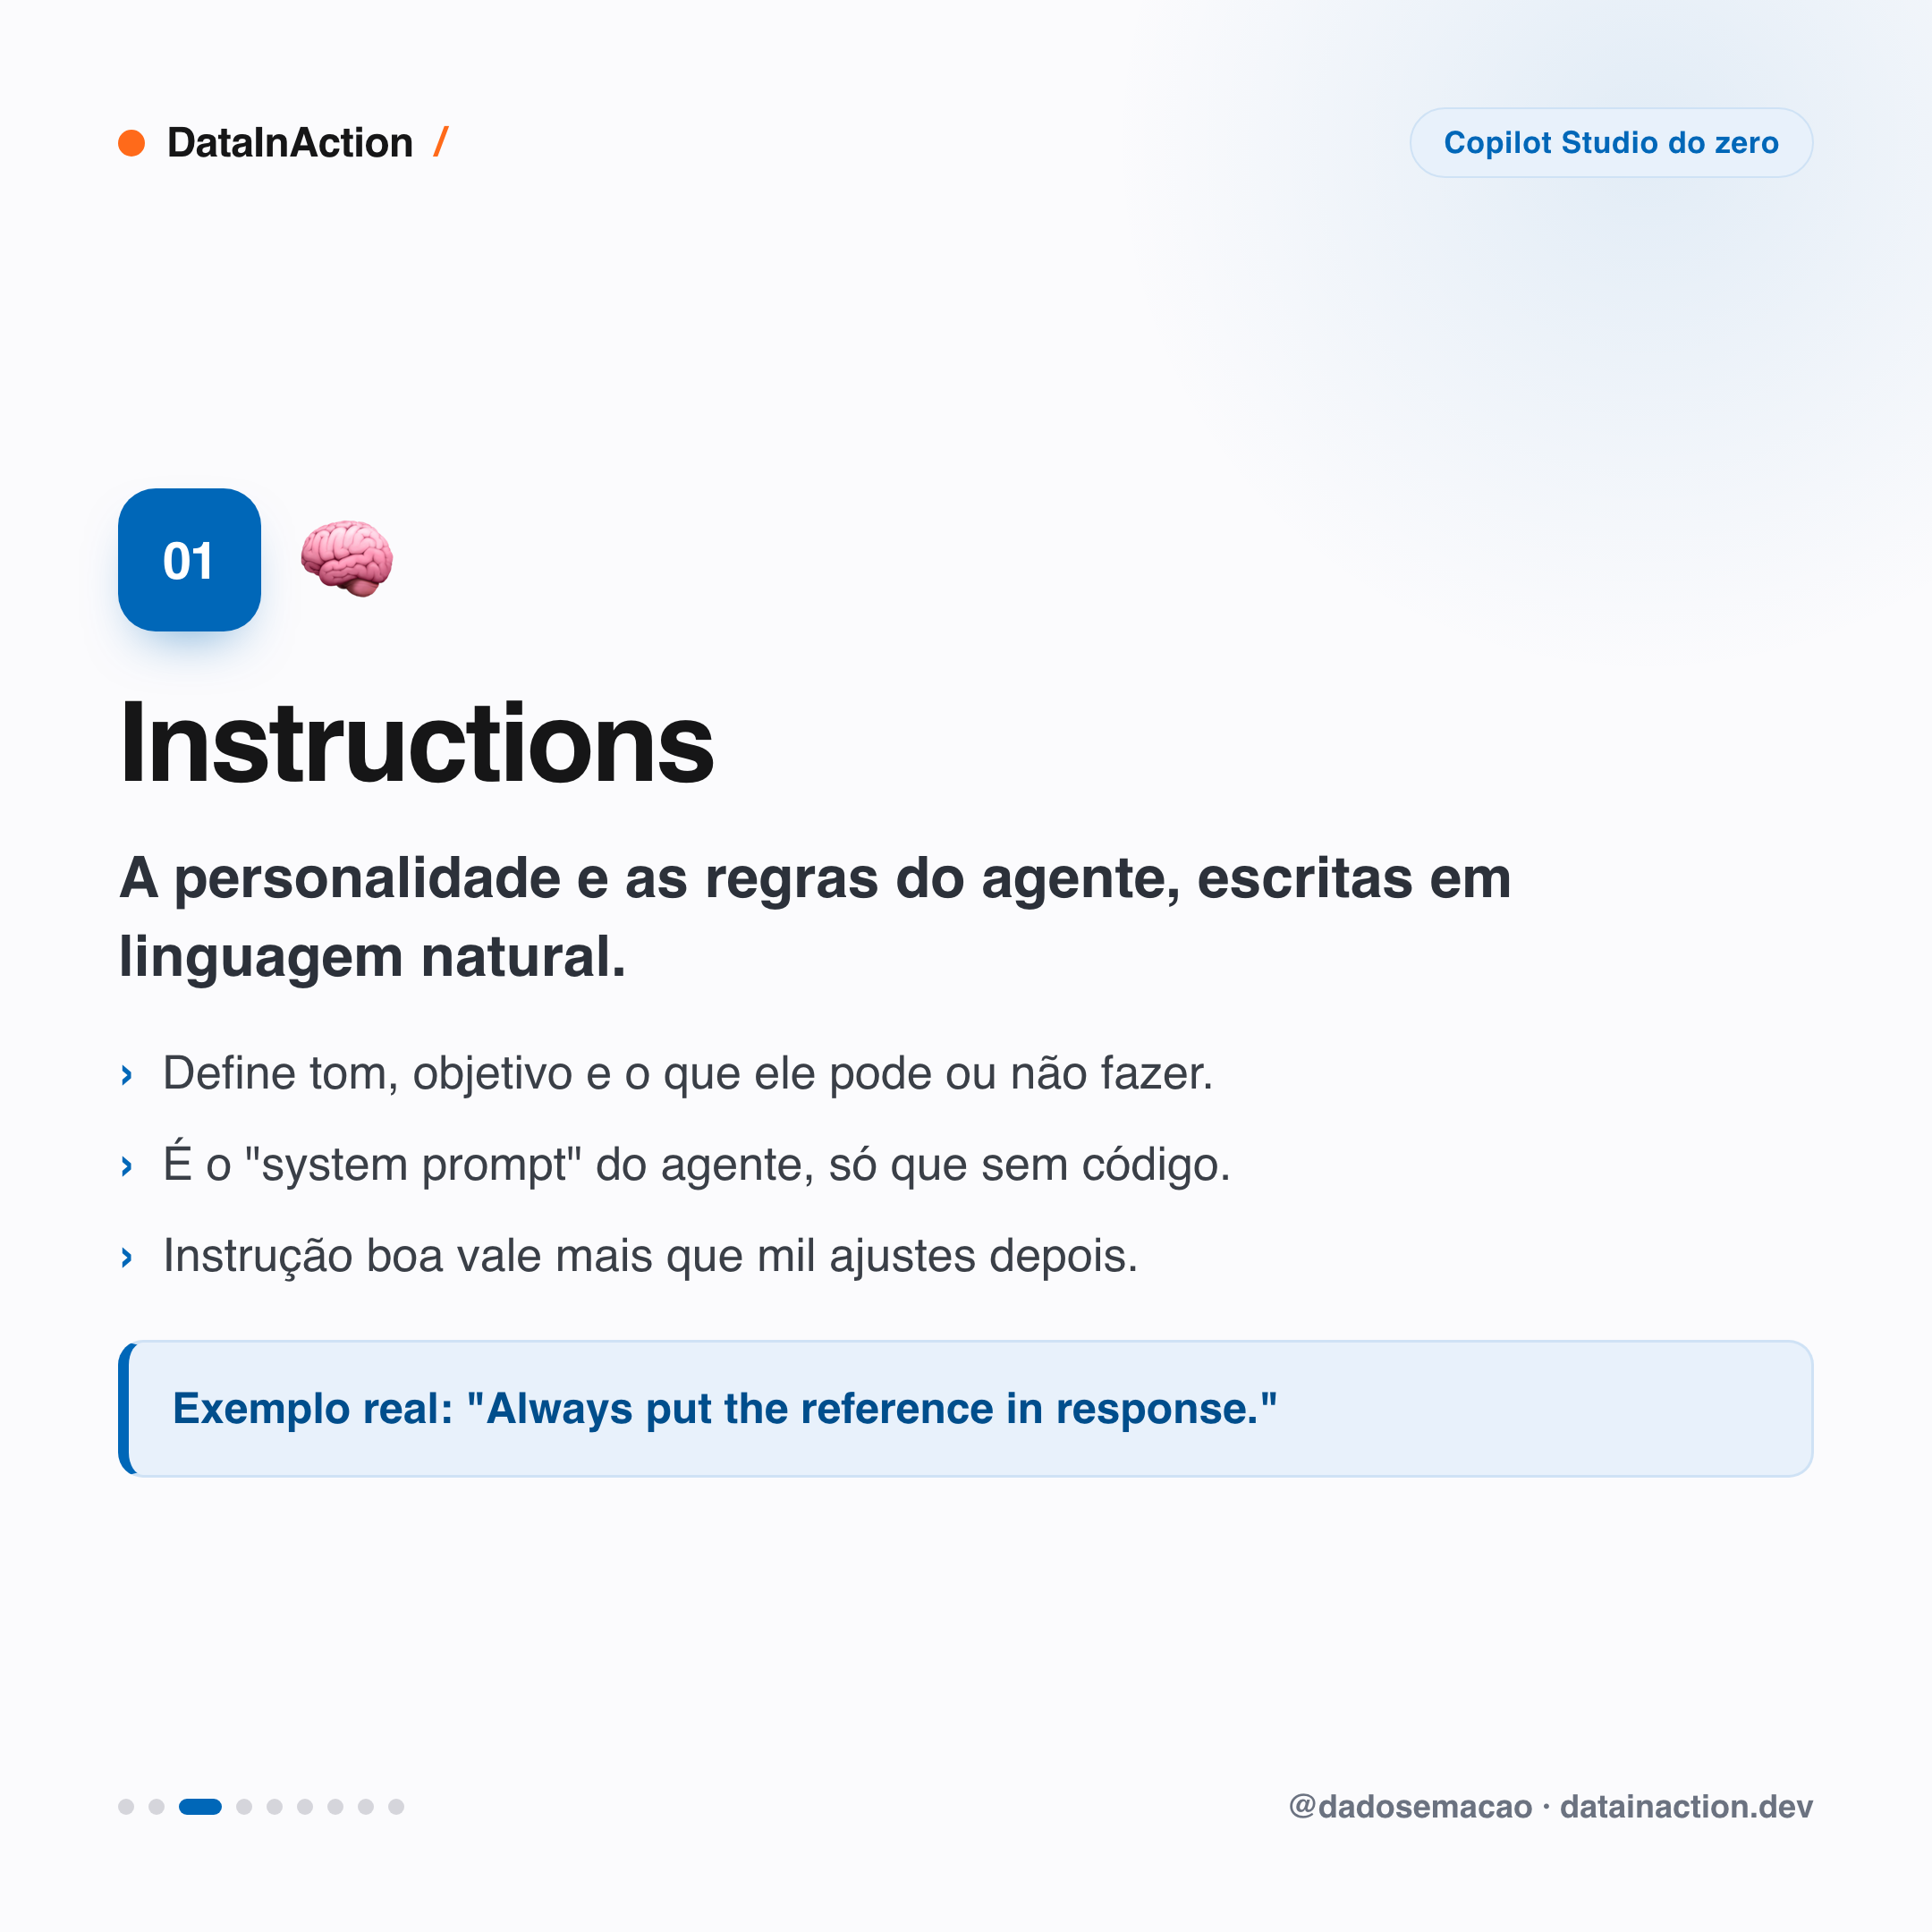
Parece bobo, mas é o bloco que mais economiza dor de cabeça, sério. Uma instrução bem escrita ("responda sempre com base nos documentos da empresa e, se não souber, diga que não sabe") evita um monte de ajuste fino lá na frente.
02. Knowledge: de onde vêm as respostas
O Knowledge são as fontes que o agente usa para responder, o famoso grounding (a base do RAG). Em vez de o agente "chutar" com o conhecimento genérico do modelo, ele busca a resposta nos SEUS dados e ainda cita a origem.
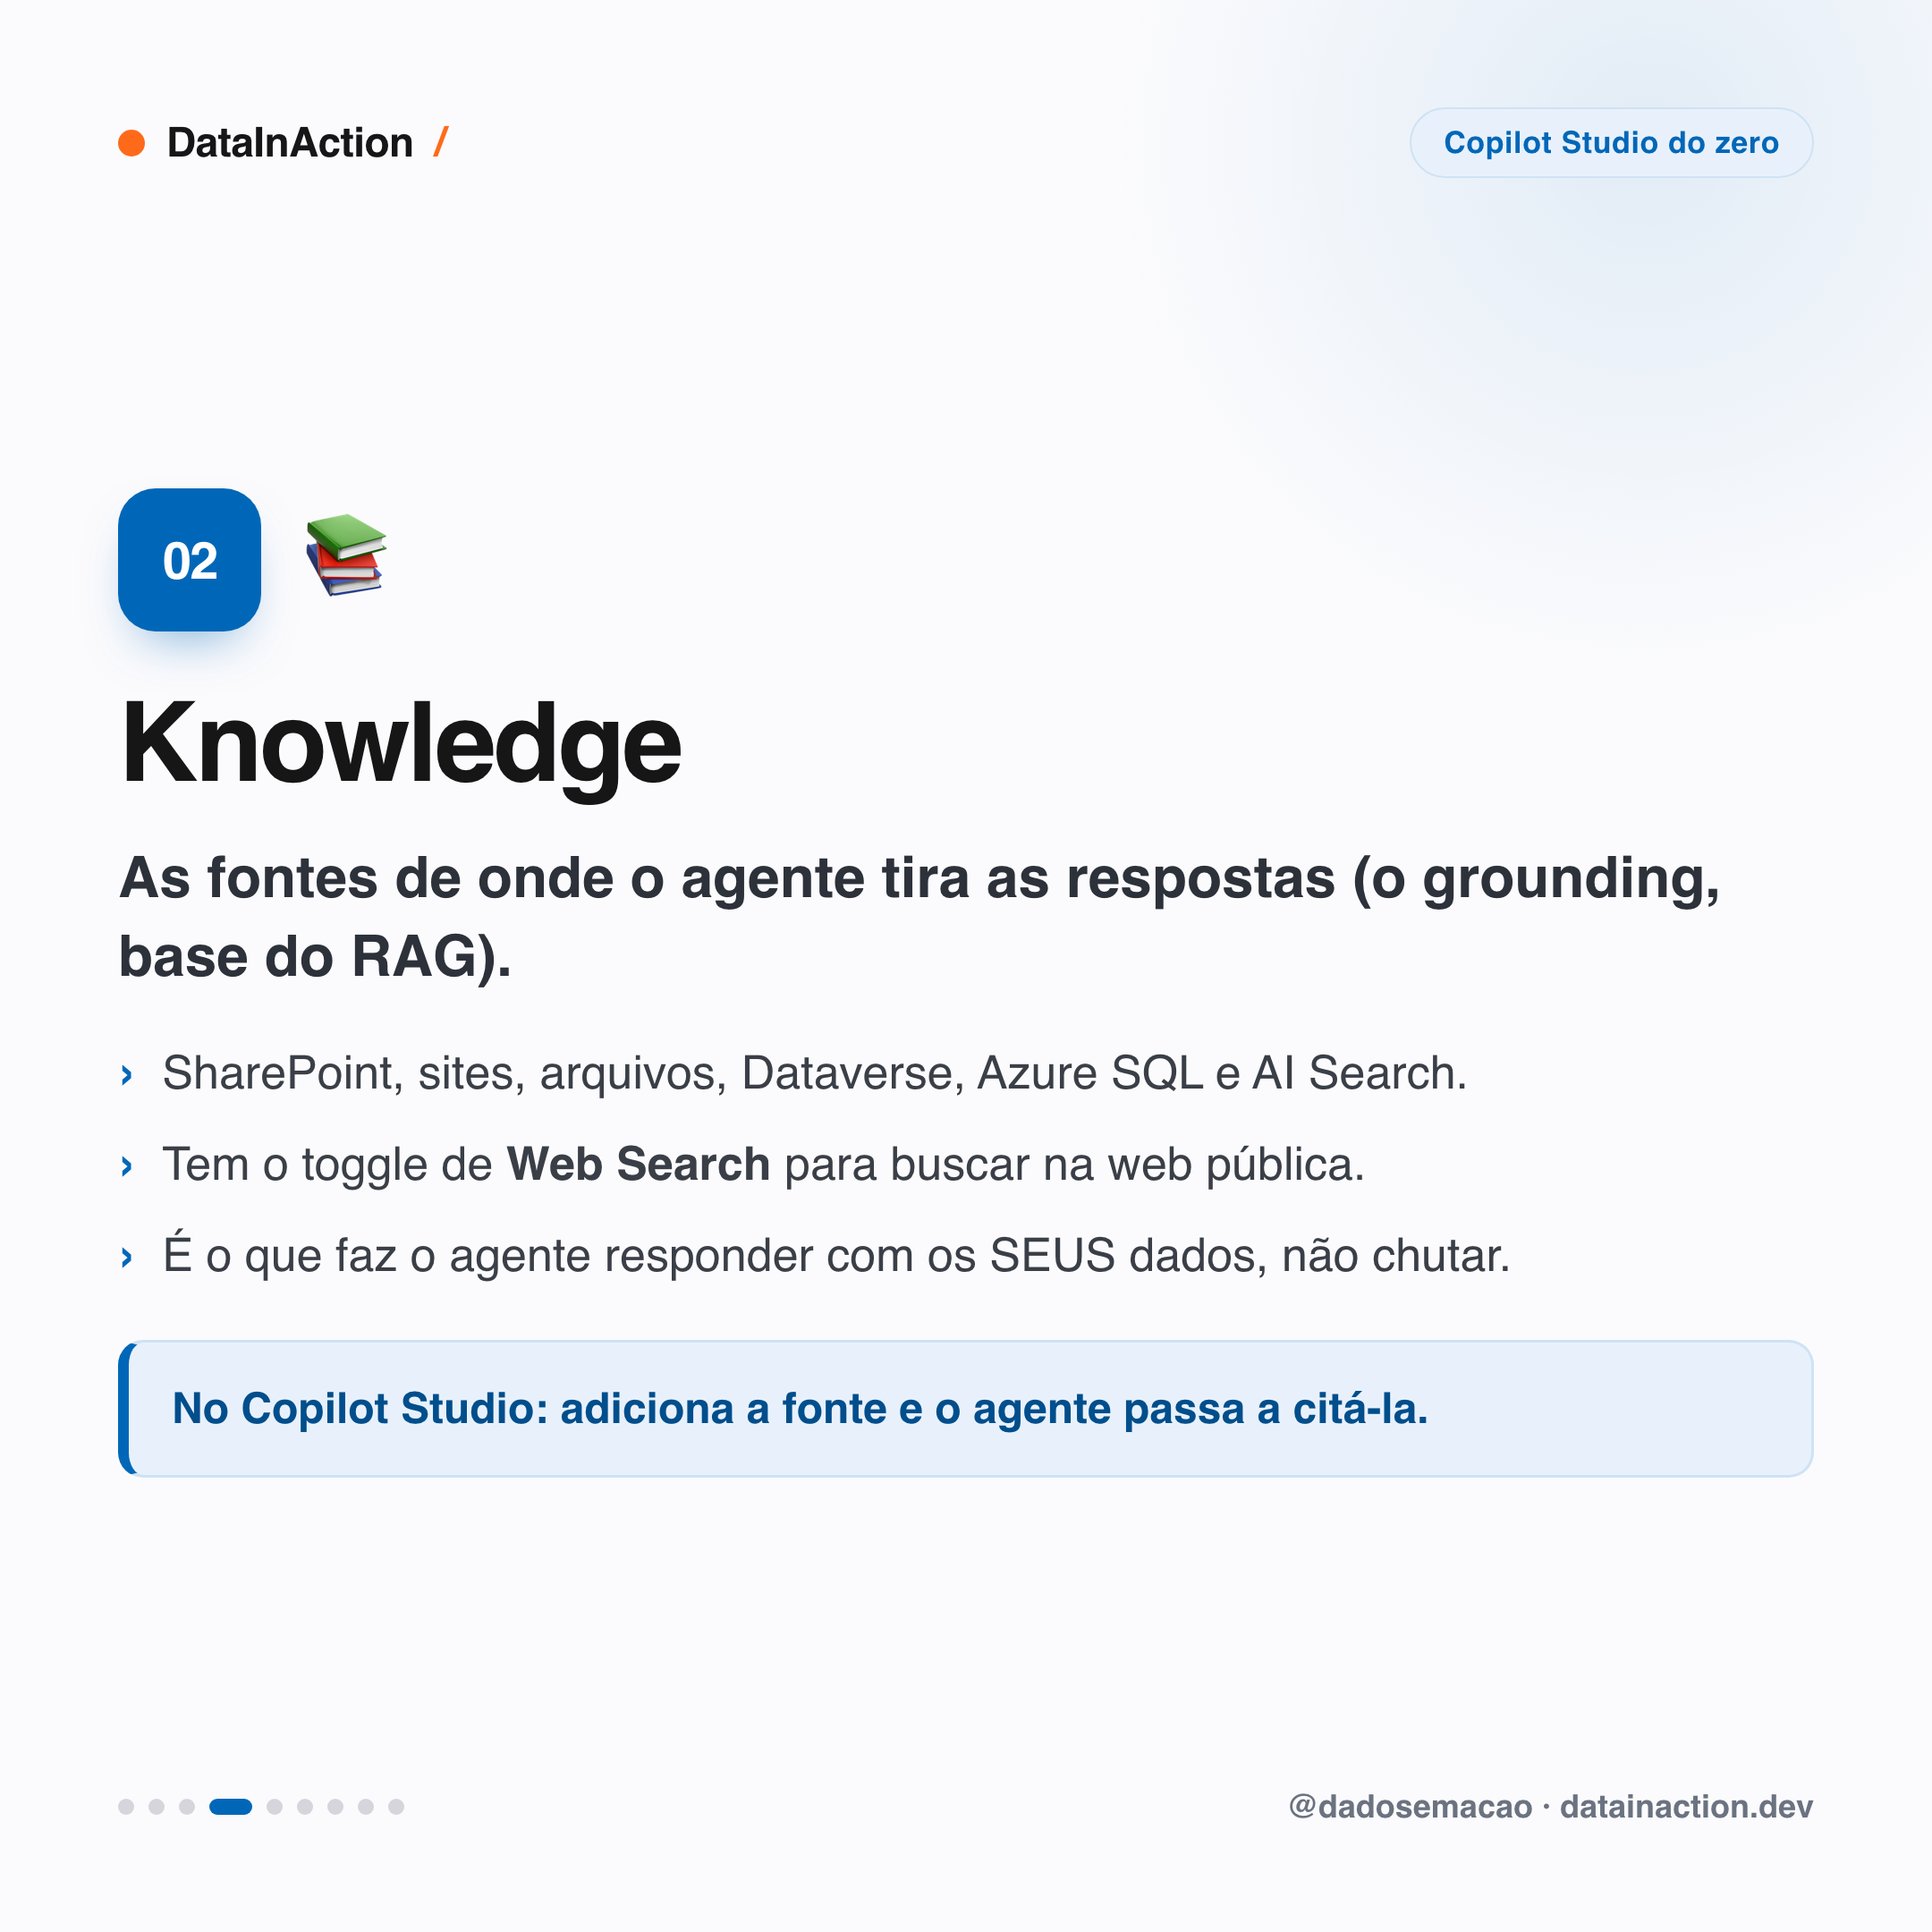
No Copilot Studio você pluga várias fontes: SharePoint, sites públicos, arquivos, tabelas do Dataverse e, para casos mais robustos, Azure SQL e Azure AI Search. Tem ainda um toggle de Web Search para deixar o agente buscar em sites públicos. É esse bloco que transforma um chatbot genérico num agente que realmente conhece a sua empresa.
03. Tools: o que o agente consegue fazer
As Tools são o que tiram o agente do "só conversa" e o levam para o "executa". São as ferramentas que ele pode chamar: conectores, fluxos do Power Automate, APIs e até servidores MCP.
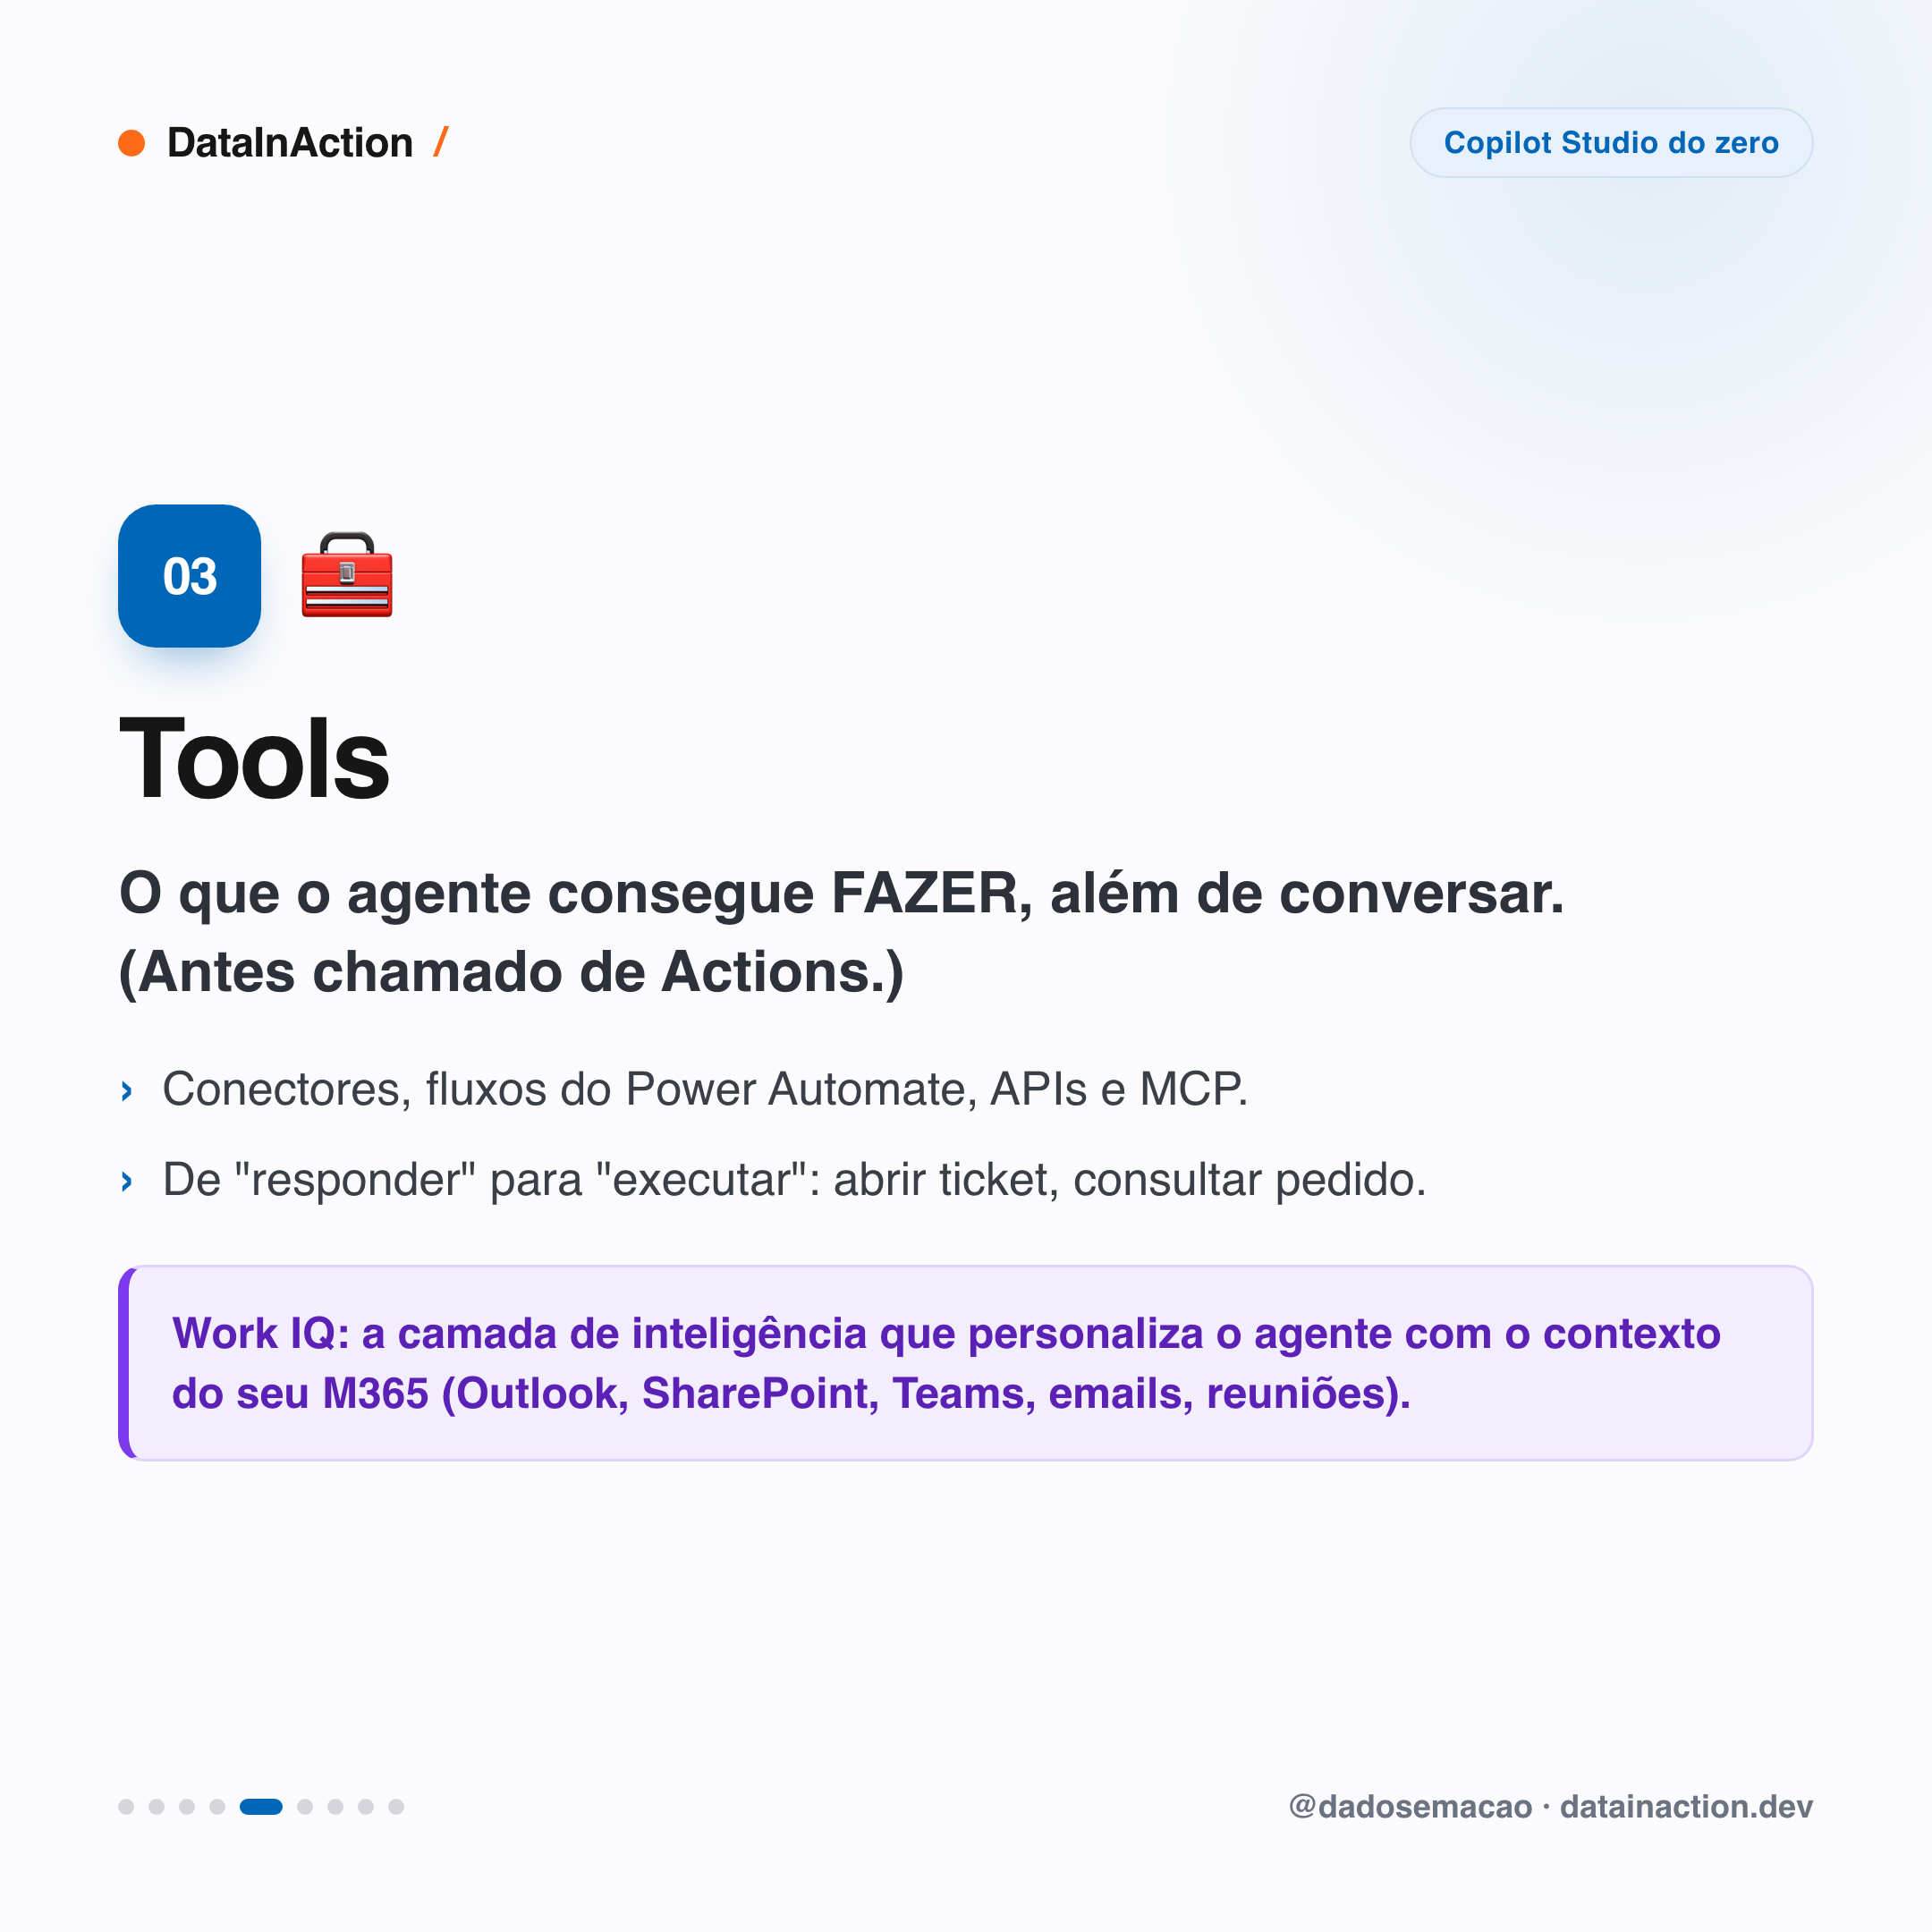
DETALHE IMPORTANTE: se você viu tutorial antigo falando em Actions, é a mesma coisa. A Microsoft renomeou para Tools. E dentro de Tools mora um recurso novo que vale a pena conhecer: o Work IQ.
O Work IQ é uma camada de inteligência do Microsoft 365 que entende como o trabalho realmente acontece na sua organização: pessoas, emails, documentos, reuniões e como tudo se conecta. Ligando essa camada, o agente passa a ser personalizado para você e para a empresa, puxando contexto do Outlook, SharePoint, Teams e por aí vai. É um salto e tanto, e vamos explorar ele a fundo mais pra frente na série.
04. Triggers: o que acorda o agente sozinho
Até aqui o agente só responde quando alguém fala com ele. Os Triggers mudam isso: são eventos que acordam o agente sozinho, sem ninguém perguntar nada. Um email que chega, um registro que muda no Dataverse, um horário agendado.
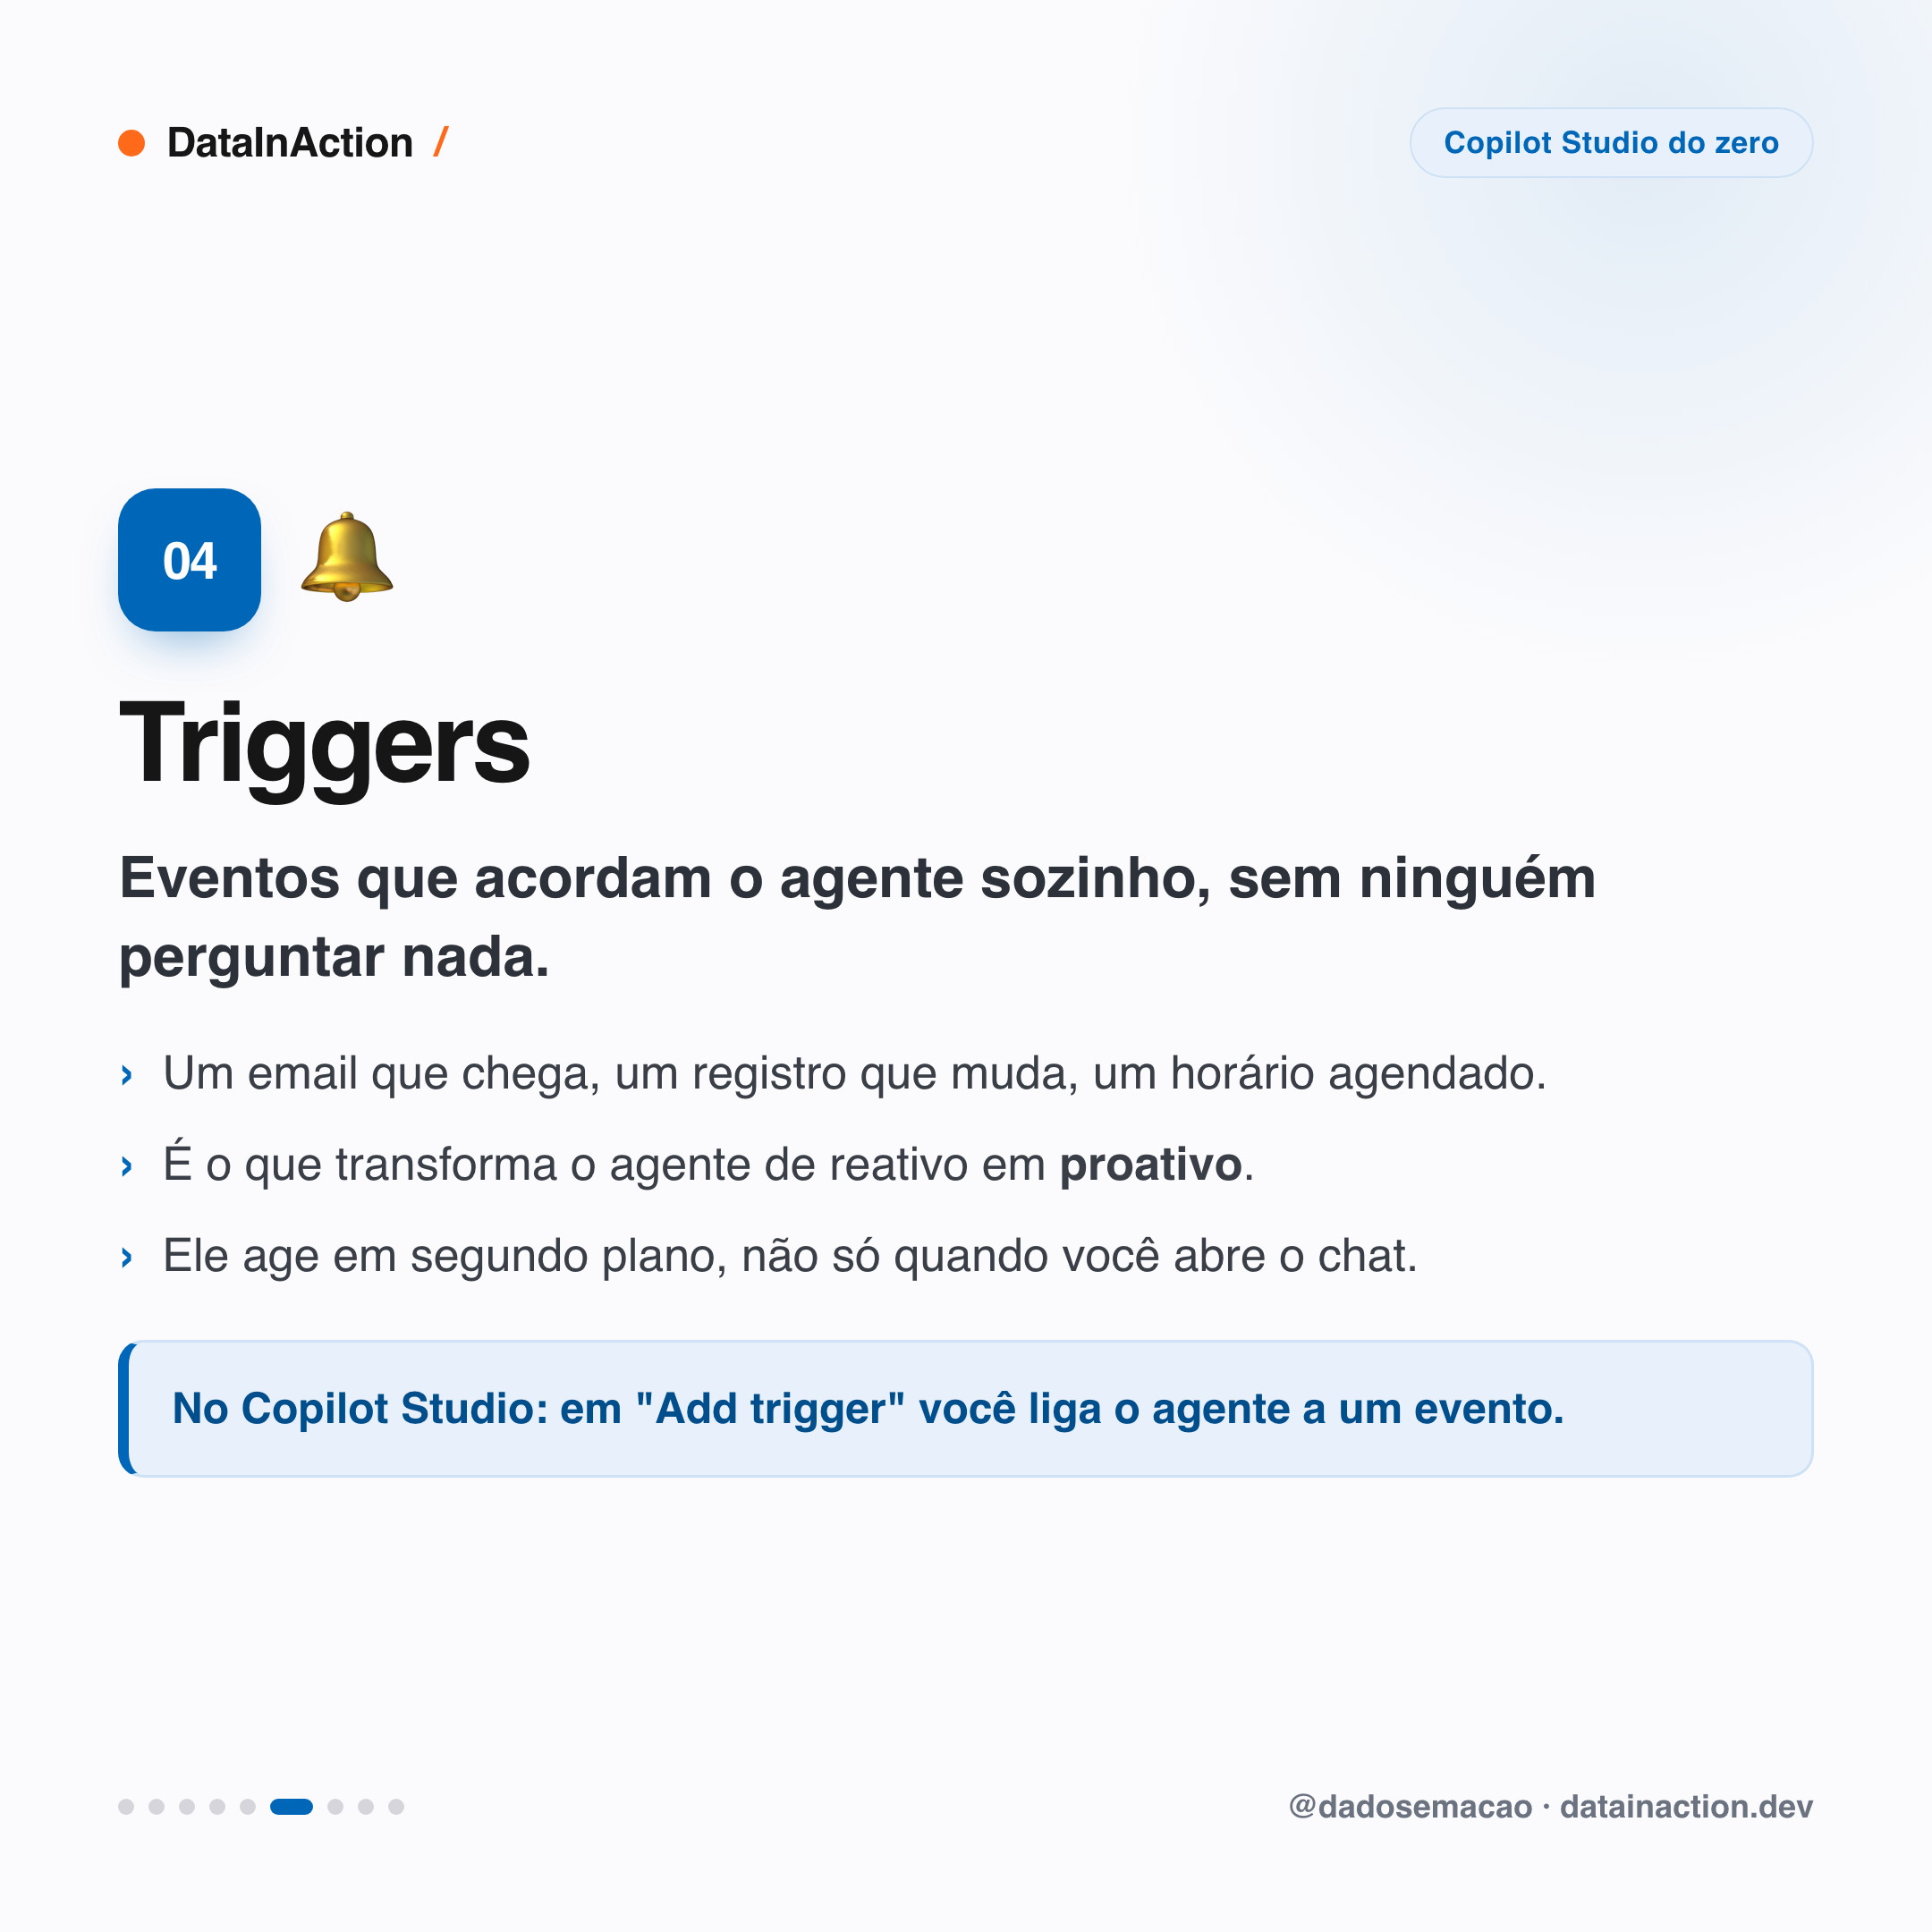
É o que transforma o agente de reativo em proativo: ele age em segundo plano e te avisa, em vez de ficar esperando você abrir o chat.
05. Agents: agente que chama agente
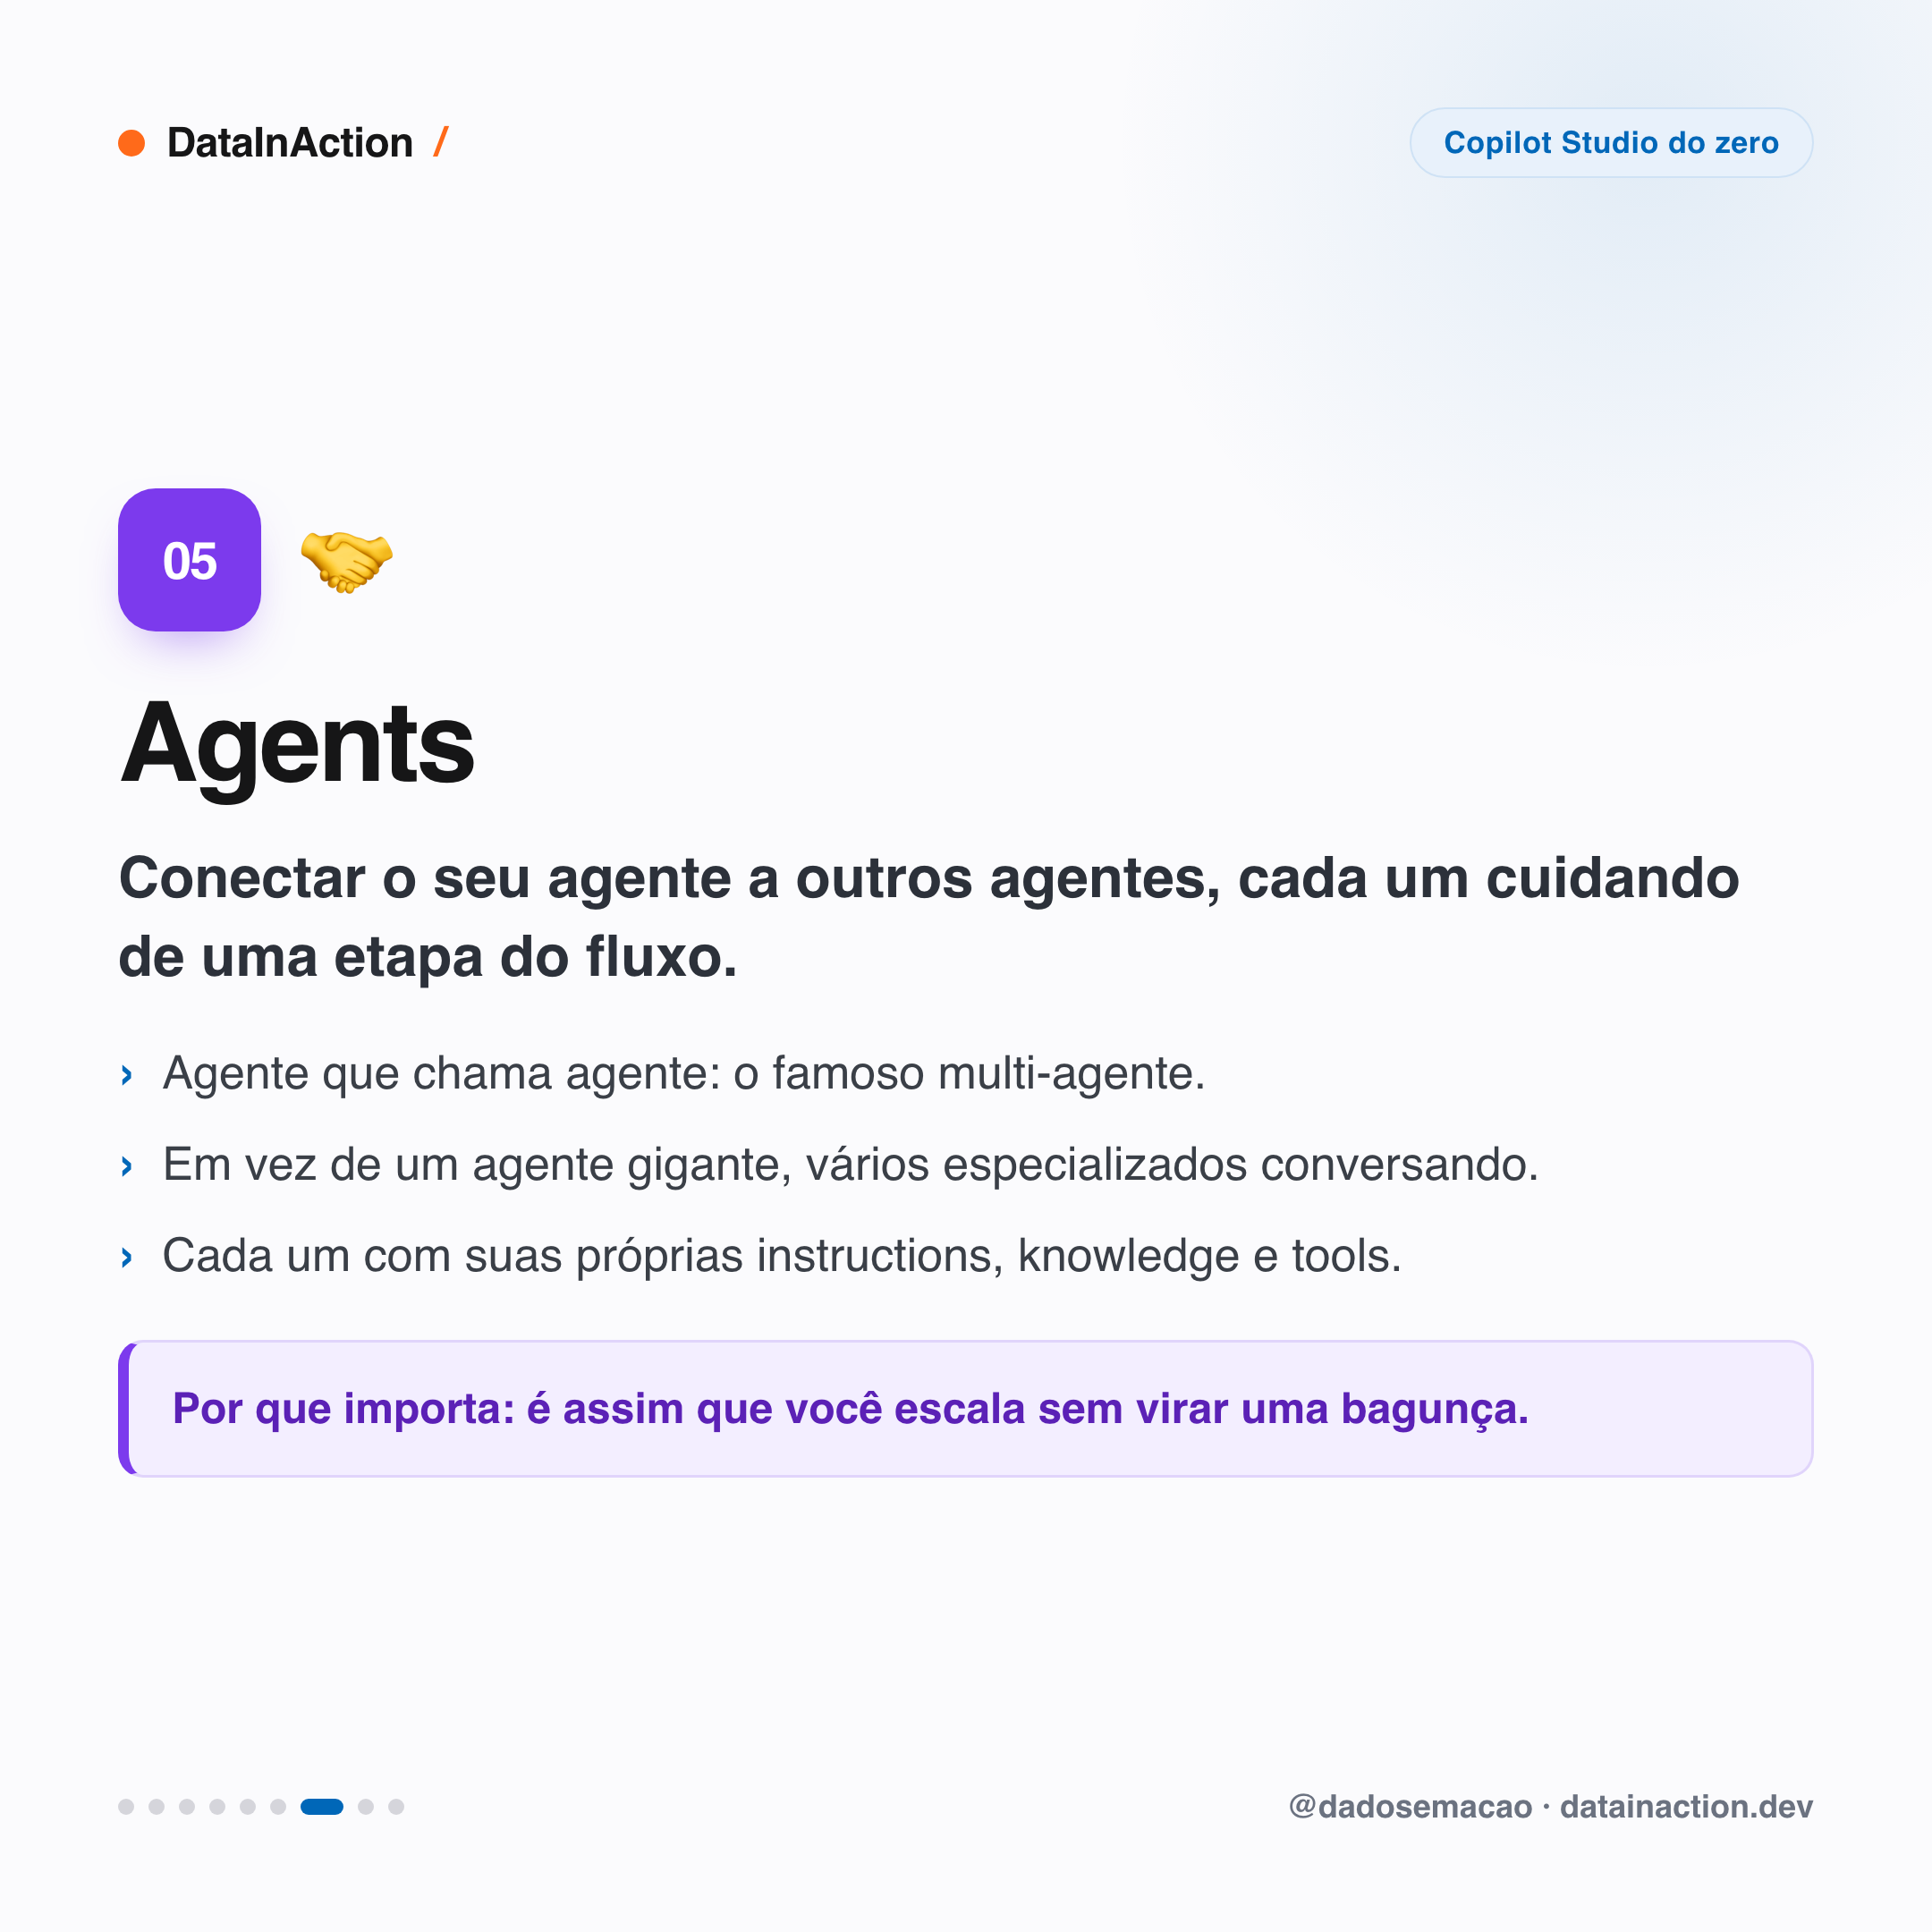
O bloco Agents deixa você conectar o seu agente a outros agentes, cada um dedicado a uma etapa do fluxo. É o famoso multi-agente: em vez de um agente gigante tentando fazer tudo, você tem vários especializados conversando, cada um com suas próprias instructions, knowledge e tools.
Reginaldo, mas eu preciso configurar os 6 blocos sempre?
Não! Começa simples. Um agente útil pode nascer só com Instructions e Knowledge. Triggers, Agents e Topics você vai adicionando conforme a necessidade aparece. A graça de entender a anatomia é justamente saber QUAL bloco resolve o seu problema, sem encher o agente de coisa que não usa.
06. Topics: fluxos desenhados na mão
Por fim, os Topics são o bloco clássico de chatbot: um gatilho (uma frase ou intenção) seguido de uma sequência de passos que VOCÊ desenha. São determinísticos, ou seja, seguem exatamente o caminho que você montou, sem deixar por conta da IA. Todo agente já nasce com alguns prontos, tipo Greeting, Goodbye e Start Over.
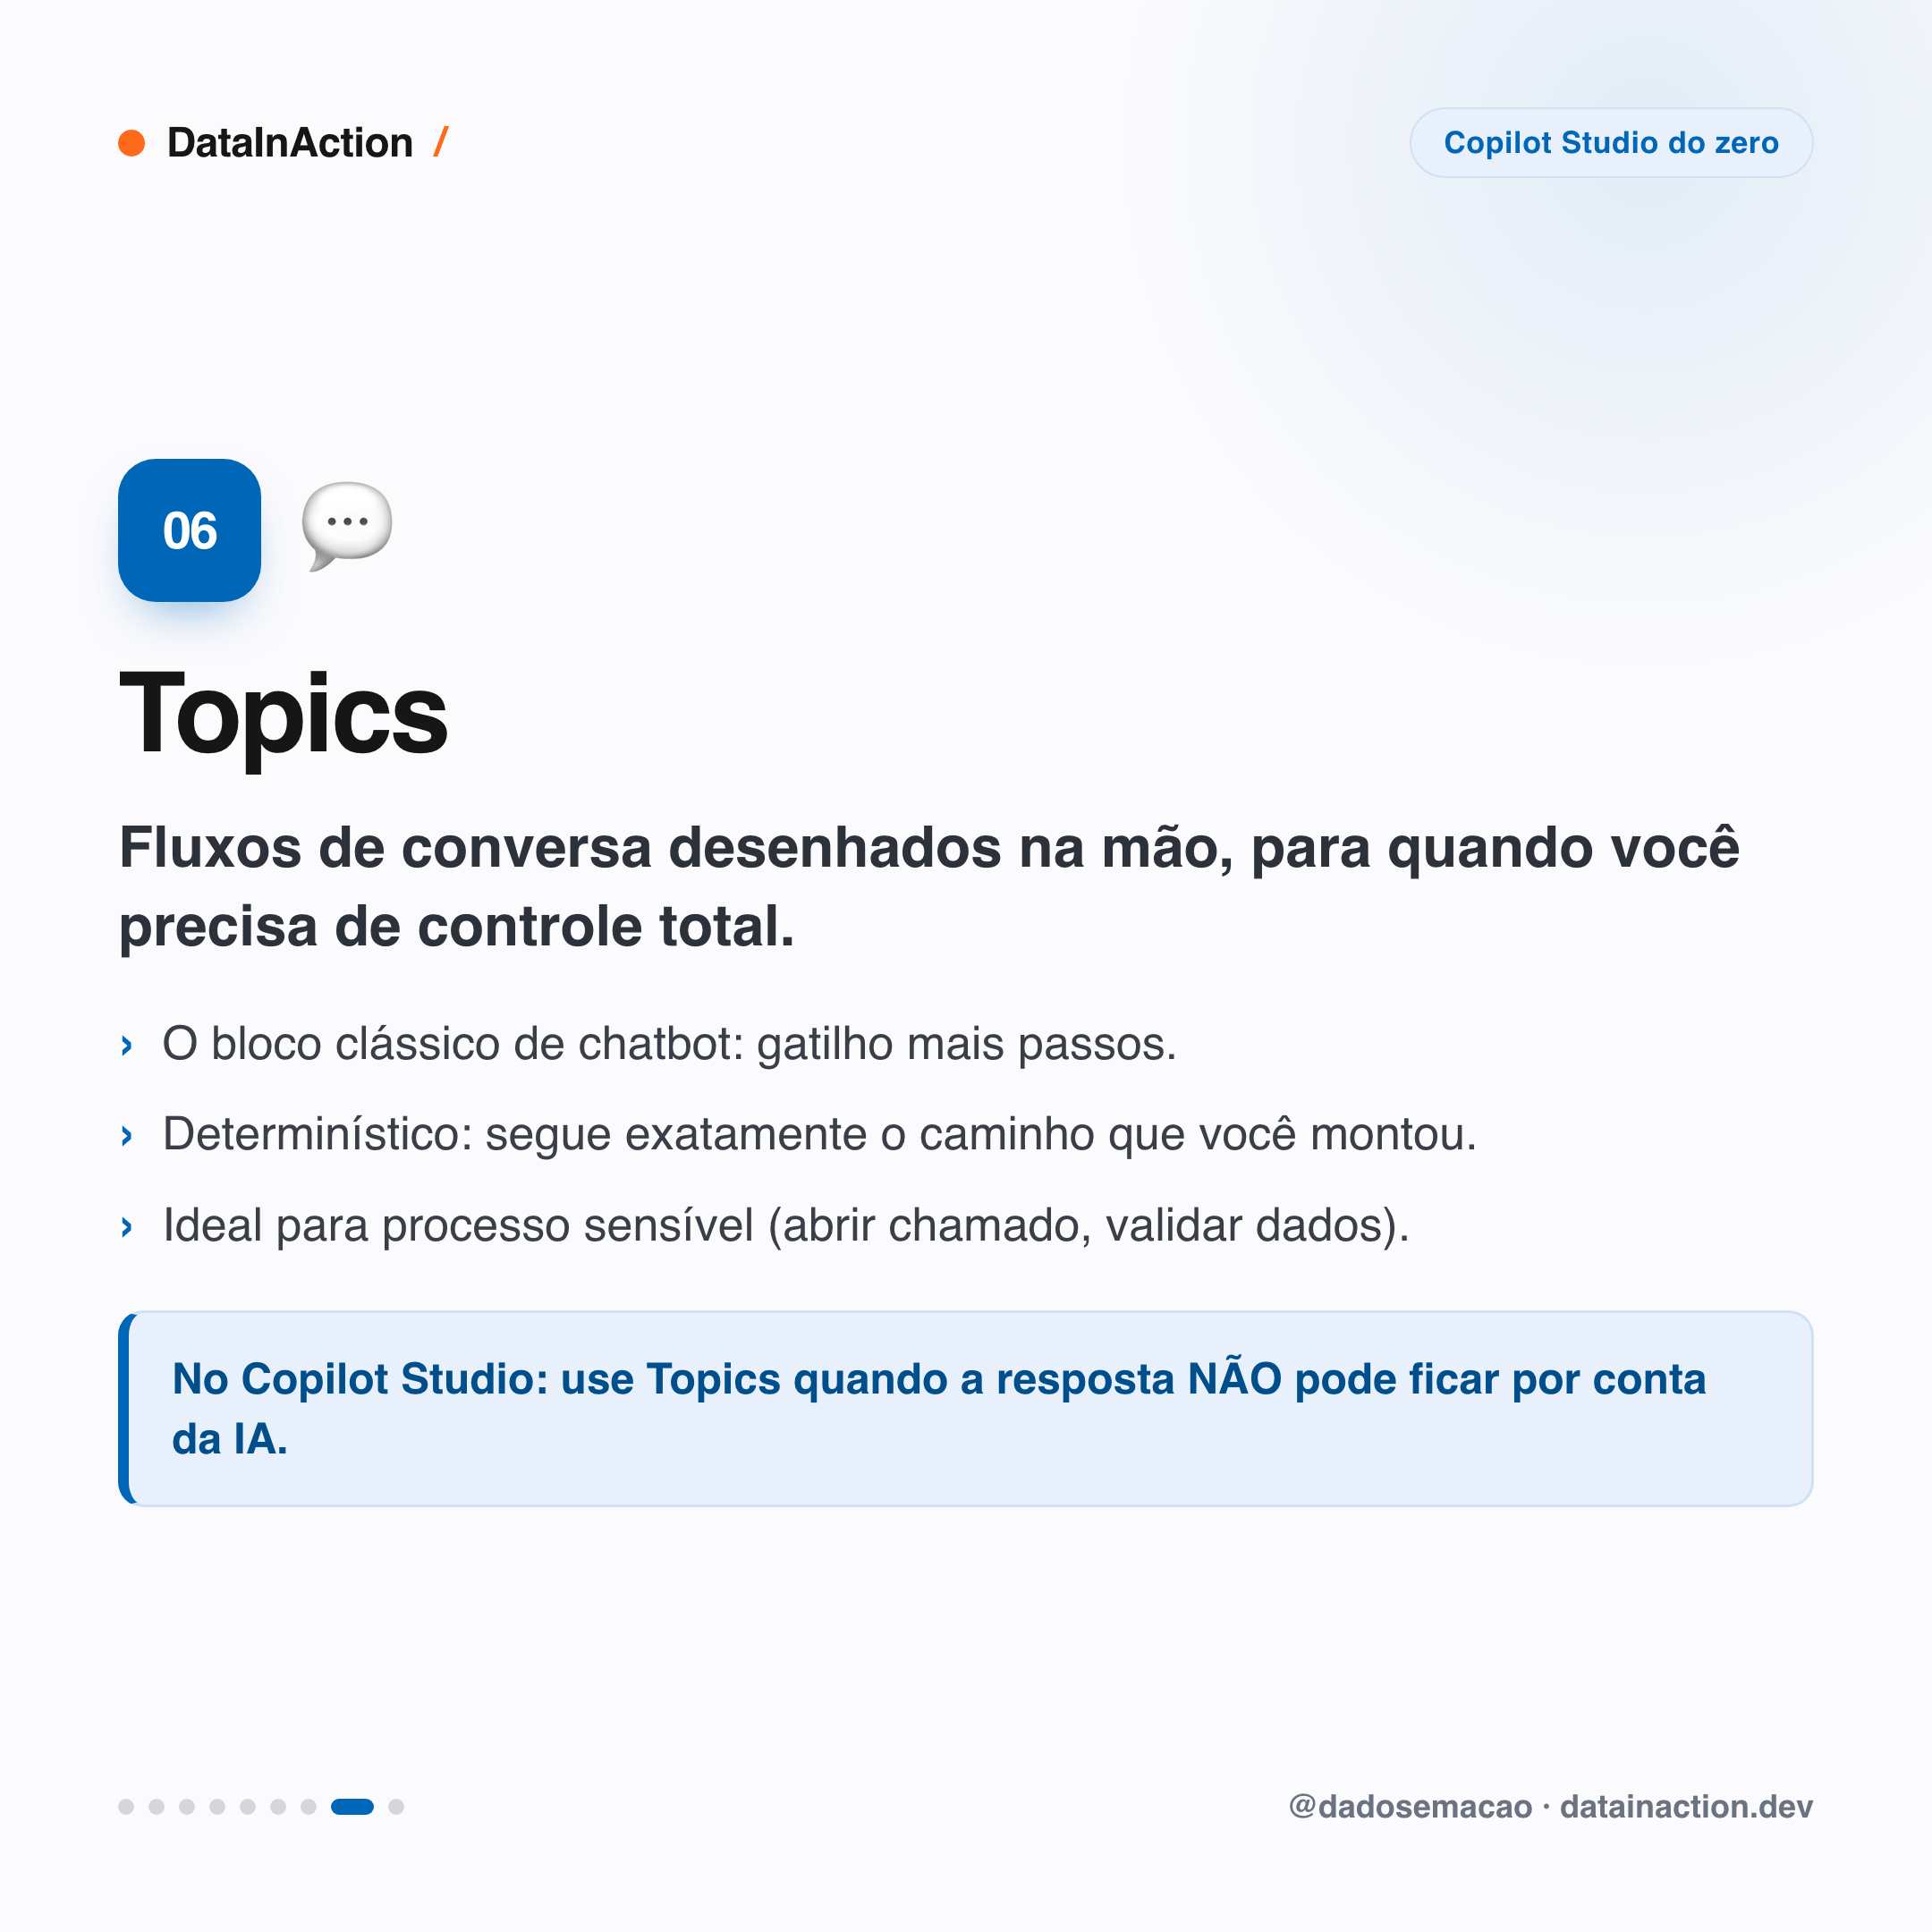
Use Topics quando a resposta NÃO pode ficar no improviso: abrir um chamado, validar um CPF, confirmar um pagamento. Para o resto, deixa a orquestração trabalhar.
RESUMO
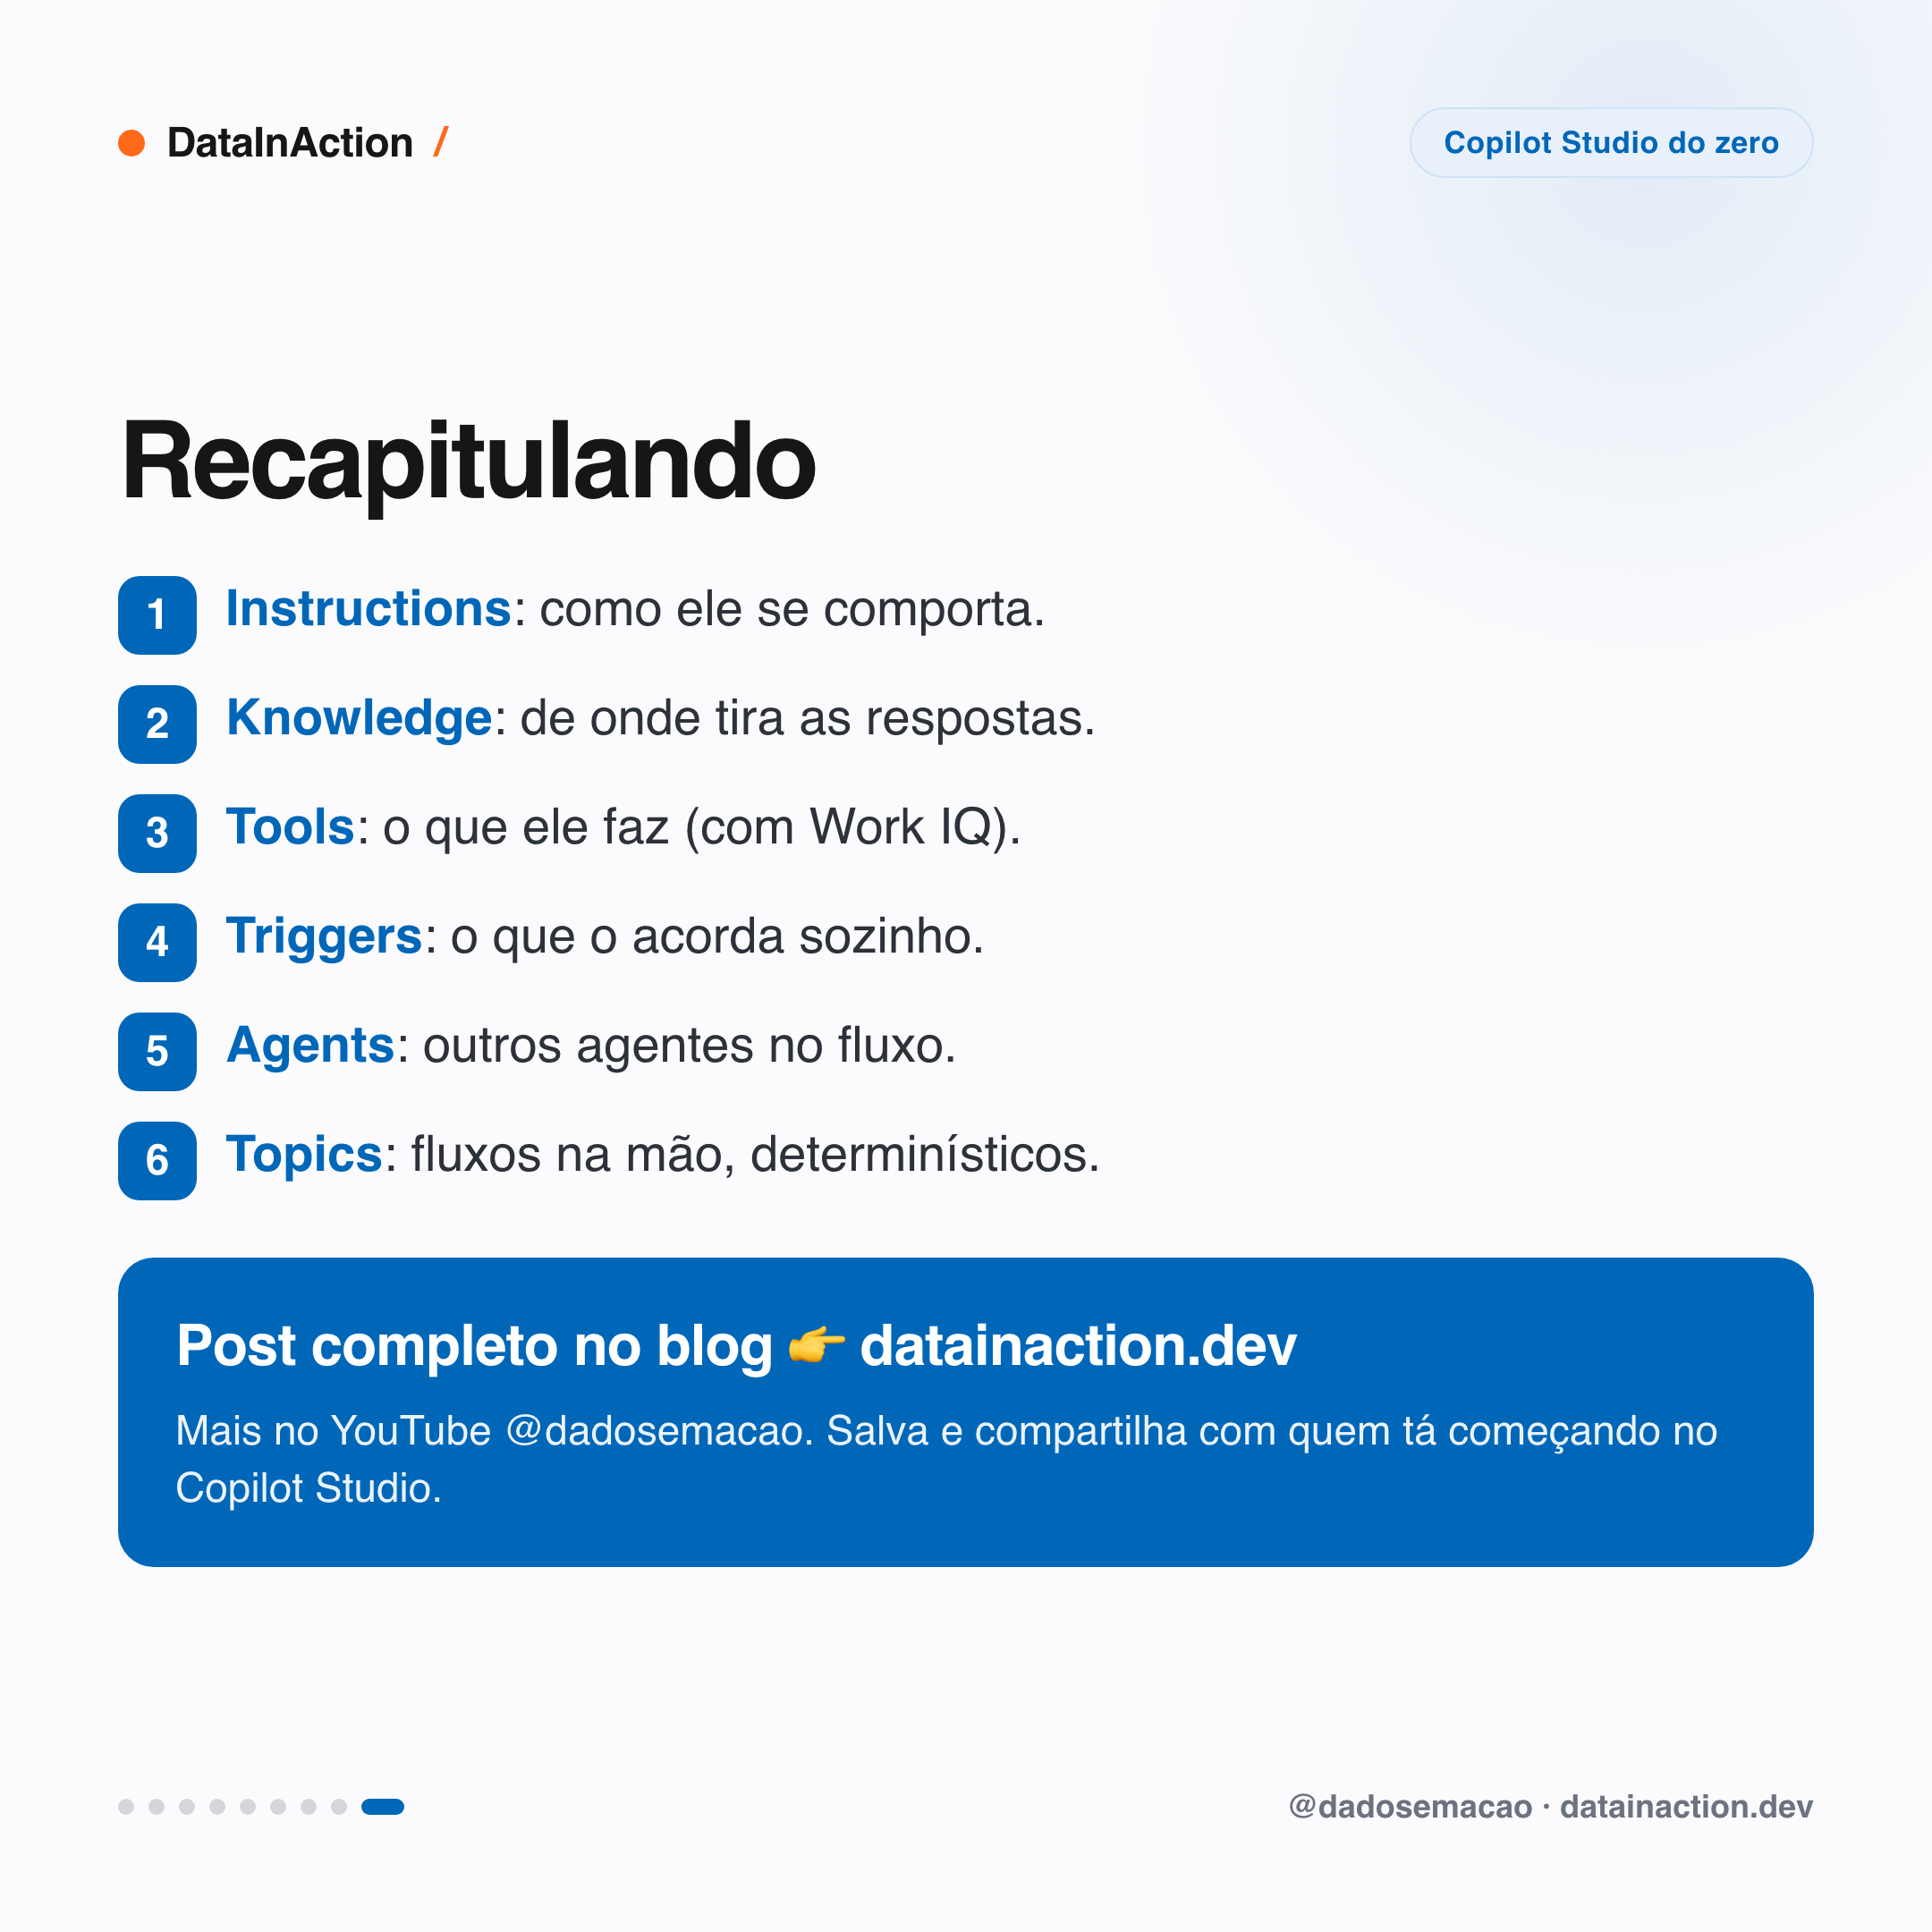
Instructions: como o agente se comporta (tom, regras, objetivo), em linguagem natural.
Knowledge: de onde ele tira as respostas (SharePoint, arquivos, Azure SQL/Search, Web Search).
Tools (antes Actions): o que ele faz de verdade (conectores, Power Automate, APIs, MCP), incluindo o Work IQ.
Triggers: eventos que acordam o agente sozinho, deixando ele proativo.
Agents: conectar outros agentes para montar fluxos multi-agente.
Topics: fluxos desenhados na mão, determinísticos, para processos sensíveis.
Por cima de tudo, você escolhe o modelo e a orquestração decide qual bloco usar.
Sacou a anatomia? Com esse mapa na cabeça, mexer no Copilot Studio deixa de ser tentativa e erro, cê vai direto no ponto. No próximo post da série a gente sai da teoria e cria nosso primeiro agente do zero, no-code, do "Create" até ele respondendo. Partiu.
Referências:
https://learn.microsoft.com/en-us/microsoft-copilot-studio/fundamentals-what-is-copilot-studio
https://learn.microsoft.com/en-us/microsoft-copilot-studio/knowledge-copilot-studio
https://learn.microsoft.com/en-us/microsoft-copilot-studio/use-work-iq
Fique bem e até a próxima.
#copilotstudio #microsoftai #workiq #agentes #ia #powerplatform #datainaction
Hey dataholics! This is part 2 of the Copilot Studio from scratch series, and today we pop the hood. In the previous post we drew the map of the ecosystem and saw where Copilot Studio fits in. Now let's pop the hood: what is an agent made of on the inside?
I opened the configuration screen of a real agent (something called Dataside Assistant), and the good news is there's no mystery: the whole configuration boils down to 6 blocks. Once you know these six, you can build and, more importantly, debug pretty much any agent. Simple as that.
What we'll cover in this post:
The big picture: the 6 blocks on the agent screen
Instructions: the personality and the rules
Knowledge: where the answers come from
Tools: what the agent does (and what Work IQ is)
Triggers and Agents: proactivity and multi-agent
Topics: flows drawn by hand
Recap
The big picture: 6 blocks (and the brain)
Before we dig into each block, hold onto this mental image. On the agent's Overview screen you configure: Instructions, Knowledge, Tools, Triggers, Agents and Topics. On top of that, you pick the model that will do the reasoning (in the screenshot it was a GPT-5), and over everything sits the orchestration, which is what decides, for each message, which block to use.
Keep this in mind, because when an agent "answers weird," the problem is almost always in one of these blocks. Knowing which one is half the way to fixing it.
01. Instructions: the personality and the rules
The Instructions are where you describe, in natural language, how the agent should behave: the tone, the goal, what it can and what it cannot do. It's the equivalent of the "system prompt," except without writing code, in plain English. In the agent from the screenshot, the instruction was simple and direct: "Always put the reference in response."
It sounds silly, but it's the block that saves the most headaches, for real. A well-written instruction ("always answer based on the company's documents and, if you don't know, say you don't know") avoids a ton of fine-tuning down the road.
02. Knowledge: where the answers come from
The Knowledge is the sources the agent uses to answer, the famous grounding (the foundation of RAG). Instead of the agent "guessing" with the model's generic knowledge, it looks up the answer in YOUR data and even cites the source.
In Copilot Studio you plug in several sources: SharePoint, public sites, files, Dataverse tables and, for more robust cases, Azure SQL and Azure AI Search. There's also a Web Search toggle to let the agent search public sites. This is the block that turns a generic chatbot into an agent that actually knows your company.
03. Tools: what the agent can do
The Tools are what take the agent from "just chatting" to "getting things done." They're the tools it can call: connectors, Power Automate flows, APIs and even MCP servers.
IMPORTANT DETAIL: if you saw an old tutorial talking about Actions, it's the same thing. Microsoft renamed it to Tools. And inside Tools lives a new feature worth knowing about: Work IQ.
Work IQ is an intelligence layer in Microsoft 365 that understands how work actually happens in your organization: people, emails, documents, meetings and how everything connects. By turning this layer on, the agent becomes personalized to you and to the company, pulling context from Outlook, SharePoint, Teams and so on. It's a big leap, and we'll explore it in depth later in the series.
04. Triggers: what wakes the agent up on its own
So far the agent only responds when someone talks to it. The Triggers change that: they're events that wake the agent up on its own, without anyone asking anything. An email that arrives, a record that changes in Dataverse, a scheduled time.
It's what turns the agent from reactive into proactive: it acts in the background and lets you know, instead of waiting around for you to open the chat.
05. Agents: an agent that calls another agent
The Agents block lets you connect your agent to other agents, each dedicated to one step of the flow. This is the famous multi-agent approach: instead of one giant agent trying to do everything, you have several specialized ones talking to each other, each with its own instructions, knowledge and tools.
Reginaldo, but do I always need to configure all 6 blocks?
Nope! Start simple. A useful agent can be born with just Instructions and Knowledge. Triggers, Agents and Topics you add as the need shows up. The beauty of understanding the anatomy is exactly knowing WHICH block solves your problem, without cluttering the agent with stuff it doesn't use.
06. Topics: flows drawn by hand
Finally, the Topics are the classic chatbot block: a trigger (a phrase or intent) followed by a sequence of steps that YOU design. They're deterministic, meaning they follow exactly the path you built, without leaving it up to the AI. Every agent is born with a few ready-made ones, like Greeting, Goodbye and Start Over.
Use Topics when the answer can NOT be improvised: opening a ticket, validating an ID, confirming a payment. For everything else, let the orchestration do the work.
RECAP
Instructions: how the agent behaves (tone, rules, goal), in natural language.
Knowledge: where it gets the answers from (SharePoint, files, Azure SQL/Search, Web Search).
Tools (formerly Actions): what it actually does (connectors, Power Automate, APIs, MCP), including Work IQ.
Triggers: events that wake the agent up on its own, making it proactive.
Agents: connecting other agents to build multi-agent flows.
Topics: flows drawn by hand, deterministic, for sensitive processes.
Over everything, you choose the model and the orchestration decides which block to use.
Got the anatomy? With this map in your head, working in Copilot Studio stops being trial and error, you go straight to the point. In the next post of the series we leave the theory behind and build our first agent from scratch, no-code, from "Create" all the way to it answering. Let's go.
References:
https://learn.microsoft.com/en-us/microsoft-copilot-studio/fundamentals-what-is-copilot-studio
https://learn.microsoft.com/en-us/microsoft-copilot-studio/knowledge-copilot-studio
https://learn.microsoft.com/en-us/microsoft-copilot-studio/use-work-iq
Take care and see you next time.
#copilotstudio #microsoftai #workiq #agents #ai #powerplatform #datainaction
Gostou? Tem mais no YouTube e no LinkedIn.
Enjoyed it? There's more on YouTube and LinkedIn.
Continue lendo Keep reading
![GitHub Copilot a fundo [5] - AI Credits: o Copilot virou usage-based](/images/ghcopilot-aicredits-capa.png)
GitHub Copilot a fundo [5] - AI Credits: o Copilot virou usage-based
Ler → Read →![GitHub Copilot a fundo [4] - Copilot CLI: o agente que mora no seu terminal](/images/ghcopilot-cli-capa.png)
GitHub Copilot a fundo [4] - Copilot CLI: o agente que mora no seu terminal
Ler → Read →![GitHub Copilot a fundo [3] - MCP: ferramentas para o agente sem perder a governança](/images/ghcopilot-mcp-capa.png)